From the Wild
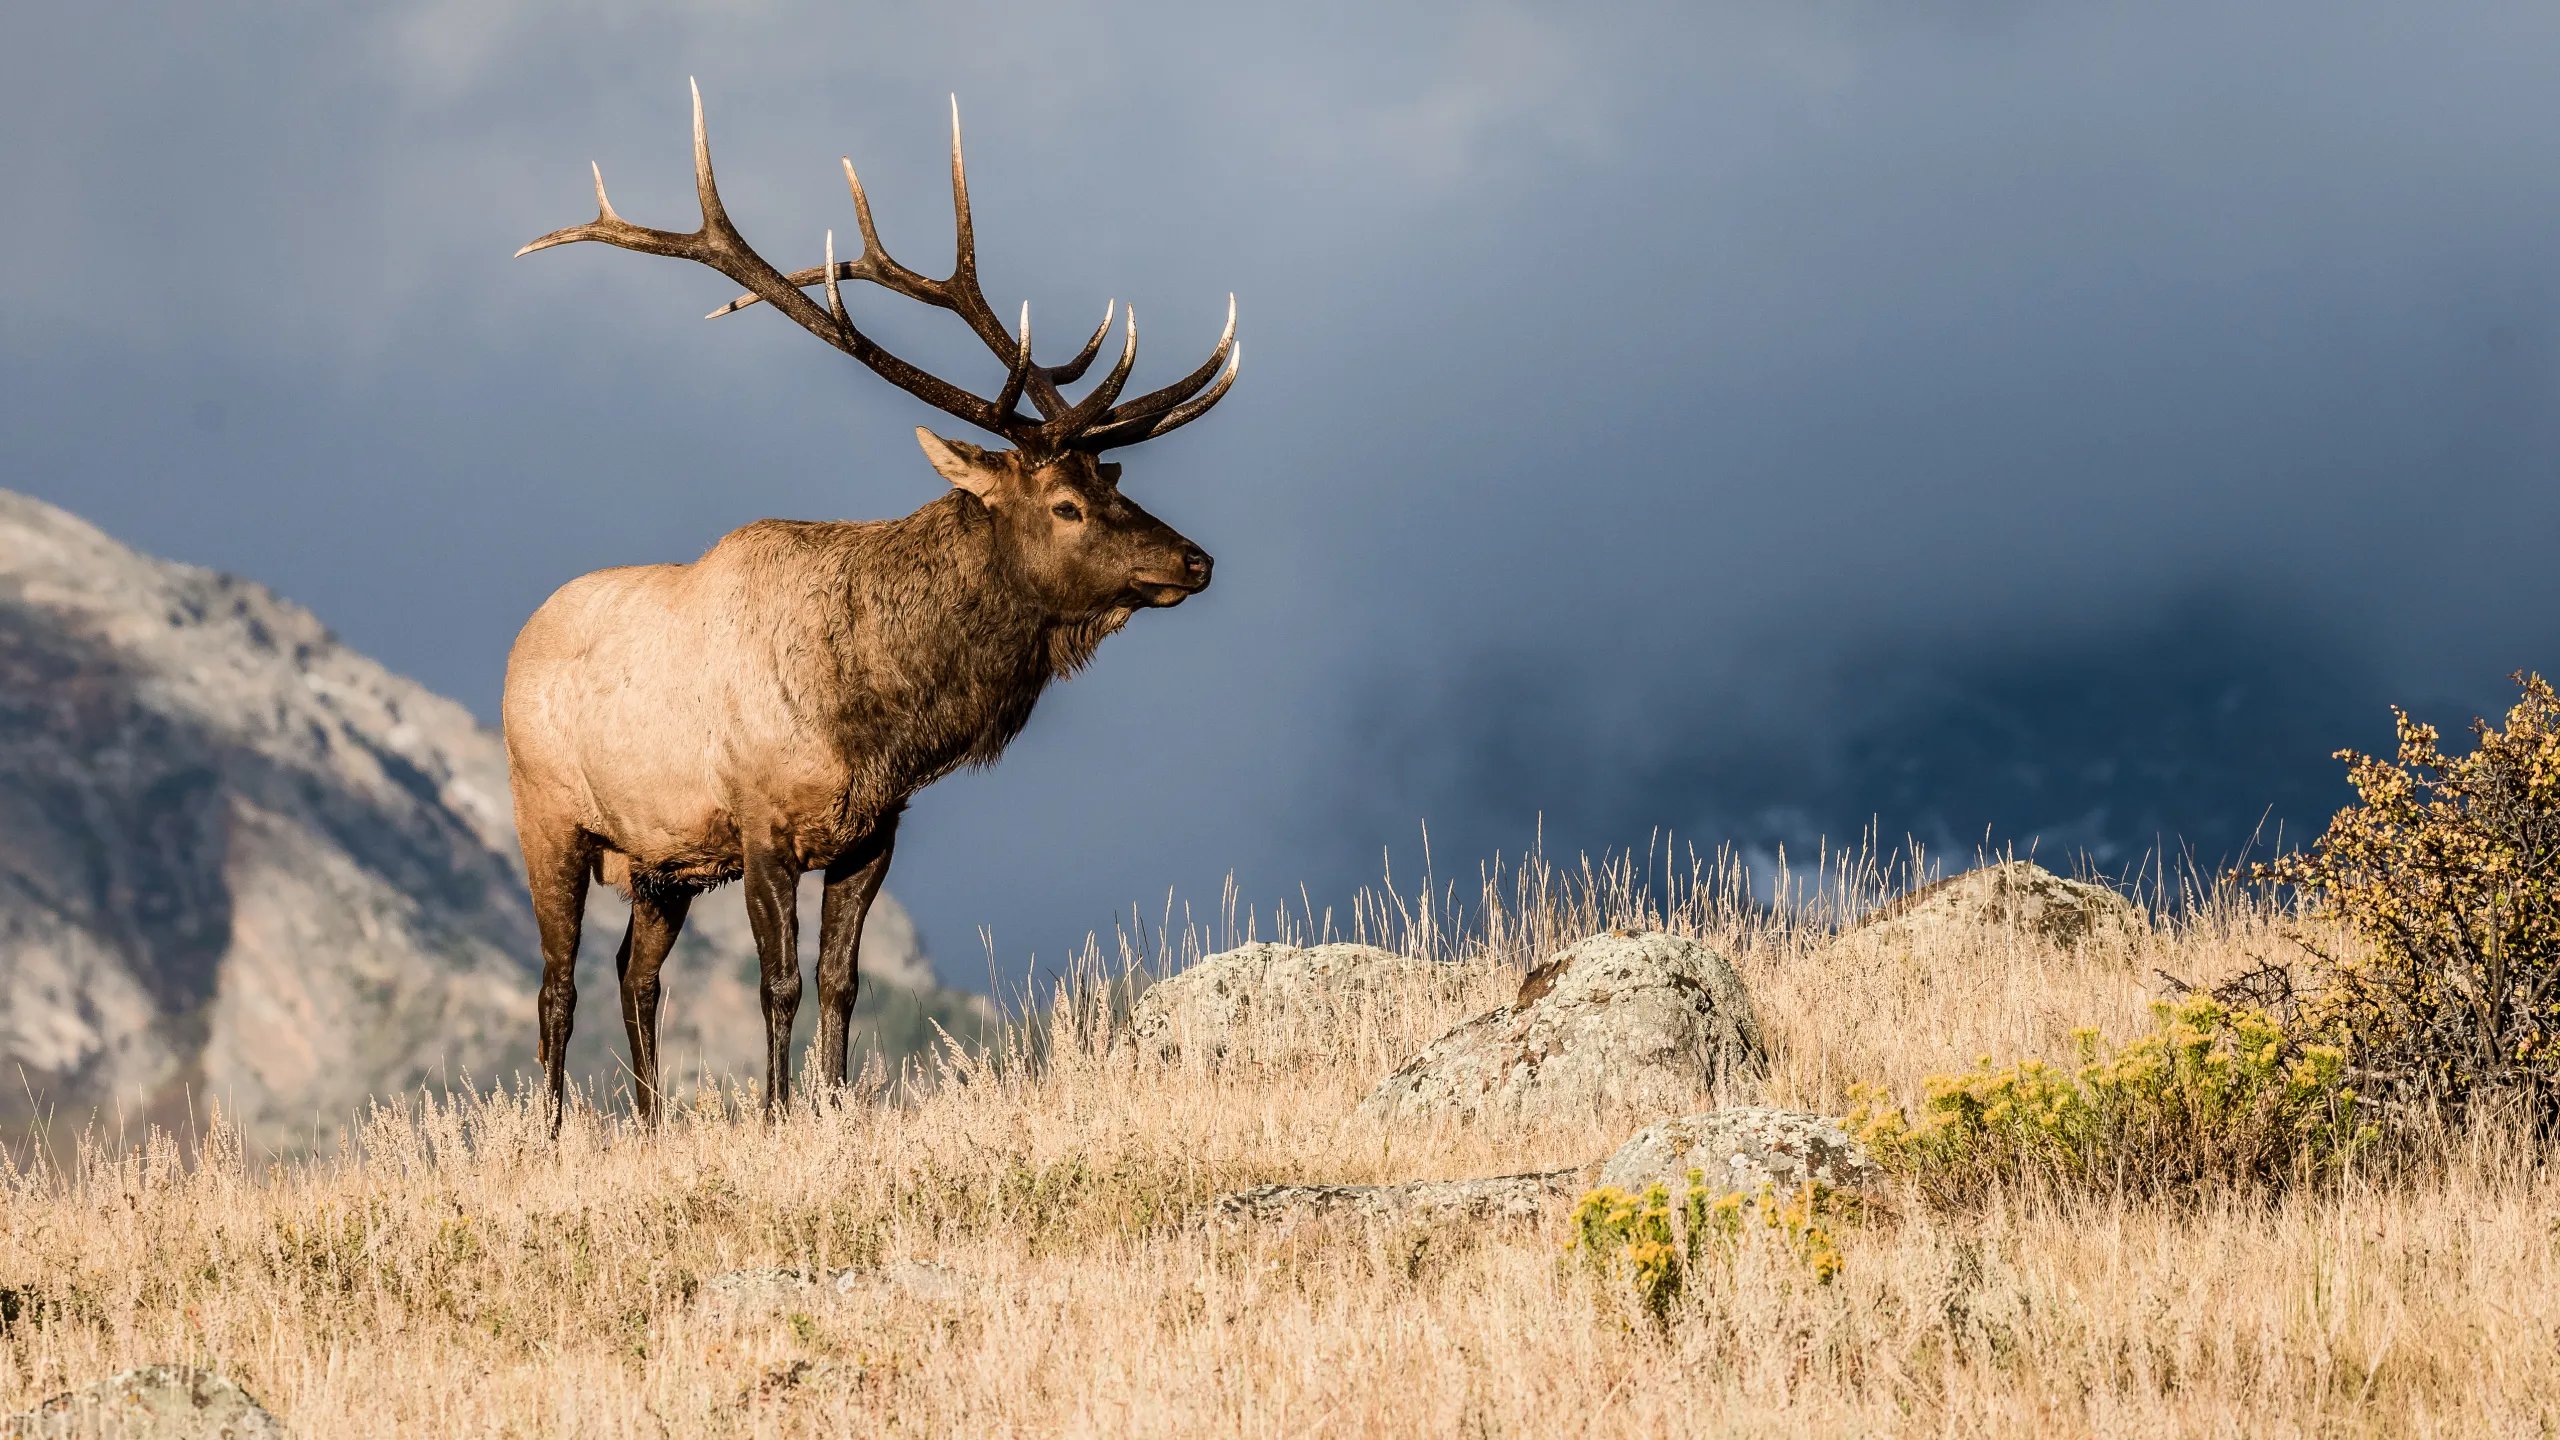
Elk
Harvesting an elk—from the ethical shot to the final pack-out—requires precision, endurance, and proper field care. Because elk can weigh up to 700+ pounds, the process demands preparation to ensure meat quality and a safe, legal hunt.
Follow these primary steps for a successful harvest:
1. The Shot and Recovery
- Shot Placement: Wait for a broadside or quartering-away angle. Aim for the vital organs (lungs and heart) situated just behind the front shoulder. Never take a rushed shot.
- Tracking: After the shot, give the animal time (at least 30 minutes, or 6 hours if the shot was poorly placed in the gut) before following the blood trail. Pushing a wounded elk can cause it to travel miles.
- Confirmation: Always ensure the animal is dead by safely approaching from behind and checking the eye before proceeding to process it.
2. Field Dressing (The “Gutless” Method)
Because of their immense size, field dressing an elk in the field using the “gutless method” is the most efficient and sanitary way to harvest meat without puncturing the entrails.
- Positioning: Roll the elk onto its side with the legs facing downhill. [1]
- Quartering: Skin back the hide on the exposed upper side and remove the hindquarter by locating the ball joint. Remove the front shoulder, cut out the backstraps along the spine, and retrieve the tenderloins from the inside of the ribs.
- Flipping: Flip the carcass over and repeat the process on the second side. Always keep the meat clean and place it directly into breathable game bags.
- Legal Requirements: Be aware of your state’s wildlife regulations. For example, in states like Colorado, evidence of the animal’s sex must remain naturally attached to the meat until it reaches your primary residence.
3. Packing and Storage
- Weight Distribution: Elk meat is heavy. Load your hunting pack with the heaviest meat (like hindquarters) high up and positioned as close to your back as possible.
- Cooling: Meat spoils quickly. Hang the game bags in a shaded, well-ventilated area as soon as possible to allow the meat to cool and dry out.
- Butchering: Find a local meat processor before you go out, or have your knives and processing gear ready to process the meat into steaks, roasts, and burger upon returning.
Always consult your local state wildlife department’s hunting regulations for exact tag requirements, weapon laws, and legal bag limits before planning your hunt.
Harvesting an elk requires careful preparation, quick field processing, and strategic pack-out methods to preserve hundreds of pounds of high-quality wild game meat. Because an elk is a massive animal—often weighing between 500 to 700 pounds—the processing clock begins the exact moment the animal hits the ground. Managing body heat and keeping the meat clean are the two most critical factors in preventing spoilage.
1. Essential Field Tools
Before you begin the harvest process, ensure your pack contains the necessary tools to handle a large carcass:
- Razor-sharp knives: Bring a sturdy fixed-blade knife or a knife with replaceable scalpel blades.
- Breathable game bags: Heavy-duty synthetic or canvas bags protect the meat from flies, dirt, and debris while allowing heat to escape.
- Tarp or plastic sheeting: Provides a clean workspace to prevent the meat from touching dirt or pine needles.
- Paracord: Useful for tying off legs, hanging quarters from trees, or securing meat away from predators.
2. Field Dressing Methods
Hunters generally use one of two primary methods to dress an elk in the backcountry:
The Gutless Method
This is the preferred method for backcountry hunters because it eliminates the need to open the abdominal cavity, reducing the risk of puncturing the stomach and contaminating the meat.
- Skinning: Make a dorsal cut along the spine from the neck down to the tail. Peel the hide back to one side to expose the meat, using the hide as a protective mat against the ground.
- Removing Quarters: Peel back the front shoulder and cut behind the blade to free it. For the hind quarter, cut along the pelvic bone down to the hip joint. Always cut through the hide from the inside out to avoid dragging loose hair across the meat.
- Extracting Meat: Remove the backstraps along the spine and the neck meat. Reach carefully behind the last rib near the spine to pull out the tenderloins.
- Flip and Repeat: Roll the elk over onto the clean hide and repeat the exact same steps on the opposite side.
Traditional Field Dressing (Gutting)
This method involves opening the torso up to remove the internal organs whole. It is typically used if you plan to retrieve the animal whole with a vehicle, ATV, or livestock.
- Cuts: Cut through the sternum down through the pelvic area, keeping your knife blade facing upward to avoid piercing the entrails.
- Removal: Cut the windpipe at the neck, roll the elk onto its side, and pull the entire entrail pile out of the cavity.
3. Meat Cooling and Preservation
Elk have thick hides and dense muscle structure that trap immense amounts of body heat. If the meat is left uncooled, bacteria will quickly multiply, causing “bone sour” (internal rotting).
- Hang the quarters: Immediately place the meat into game bags and hang them from tree branches in a shaded, well-ventilated area.
- Spread the legs: If you cannot hang the quarters immediately, prop them open with logs or branches so cool ambient air can circulate around the thickest bones.
- Keep it dry: Never submerge meat directly in water or leave it resting on ice where it can become waterlogged, as moisture promotes bacterial growth.